Most of us have probably had that conversation at some time where someone begins talking about a problem with their back while throwing out seeming random letters and numbers: “L5!” “C2!” “T11!” At any moment you almost expect someone to yell “Bingo!” What do these letters and numbers mean?
There are a total of number of bones in stacked together in the back is 33. They are divided into a number of different categories based on their location on the spine. The topmost part is called the cervical spine; it has 7 bones that serve to support the skull and help with a variety of movements. The 7 bones are numbered from top to bottom; C=cervical, so it is C1, C2, C3, and so on. The middle part of the back is the thoracic spine; it has 12 bones and connects to the ribs while providing stability. The 12 bones are numbered from top to bottom; T=Thoracic, so it is T1, T2, T3, and so on. Next is the lumbar spine with 5 bones; they are the largest of the vertebrae and help to support much of our weight. They are also numbered from top to bottom: L1, L2, etc. Below this is the sacrum with 5 fused bones that connect the pelvis to the back. Finally, the coccyx is at the very bottom with 4 fused bones (although sometimes there are 3 or 5) that provide attachment points for pelvic floor muscles.
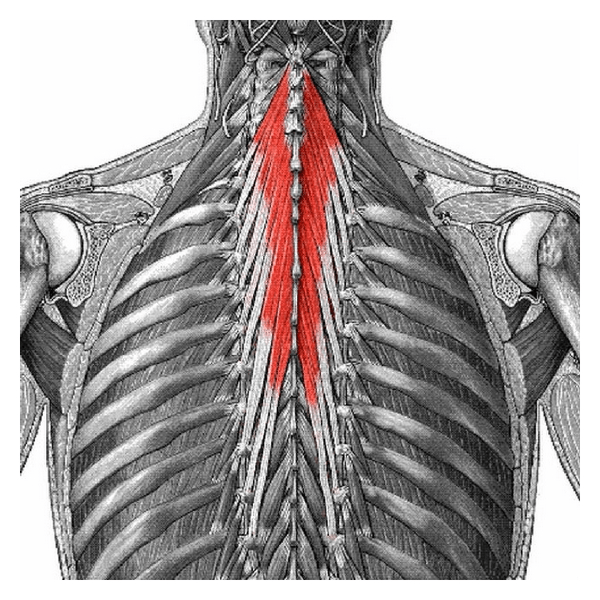
This seems like a lot of information, but the most important part to remember is that there are three main sections each with their own purpose, and two sets of fused vertebrae at the bottom that also have their own role. All of these bones are supported by muscles that provide stability; they are called intrinsic muscles. There are also extrinsic muscles that sit on the back but whose jobs are to control the arms and shoulders.
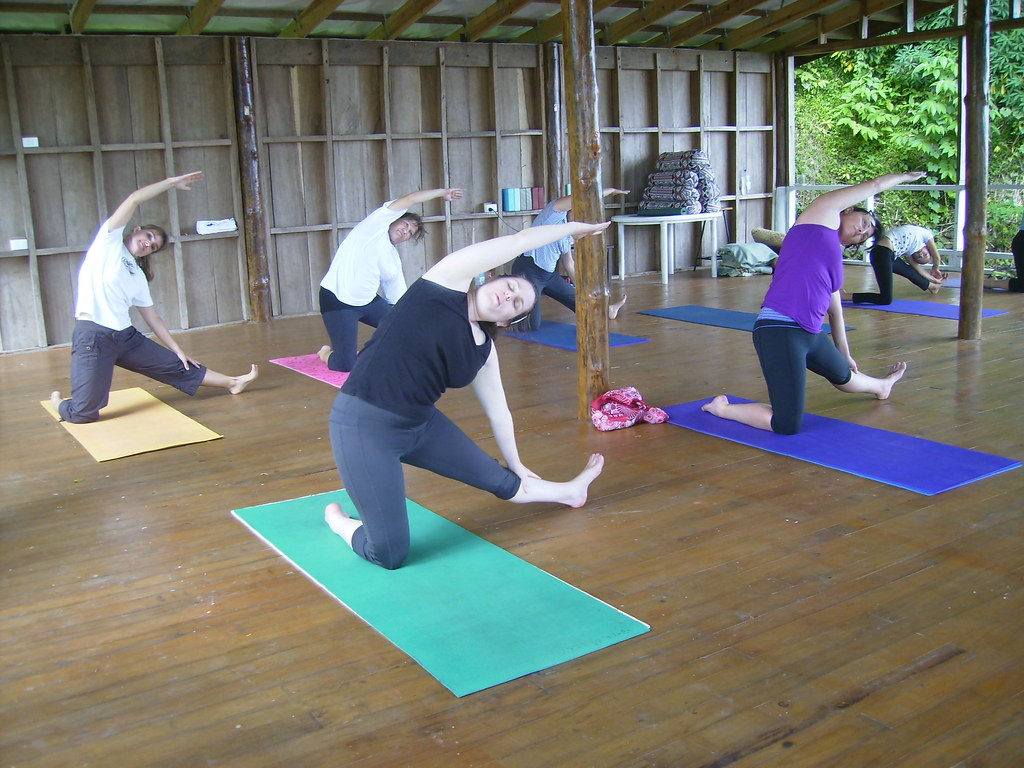
It is important to maintain the strength and flexibility of each part of the spine. The most important exercise for cervical spine health is the chin tuck, which I have blogged about in the past; looking over your shoulders in each direction is also a great exercise. For the thoracic spine, try foam roller extensions, standing torso rotations, and side-lying (open-book) rotations. For the cervical spine, the best exercise include cat/cows, glute bridges, child’s pose, and bird-dogs. Of course, if you have an injury or other concerns, consult with a medical professional so as not to do damage to this most important part of our bodies.
In the future, I will talk more about our backs, but the terminology seems so intimidating that I felt it important to demystify what we talk about when we throw out those Bingo-sounding letters and numbers.